When someone signs up for your email marketing or to use your service, it’s an opportunity for you to make your best first impression. Send them an email introducing yourself, thanking them for trusting you, or make a special offer while you’ve got their attention. You can even customize the welcome email based on how they got onto your email list (whether through purchasing a product, or opting into your newsletter, etc).
Note: this article assumes you’ve already created at least one contact segment in Wingsend.
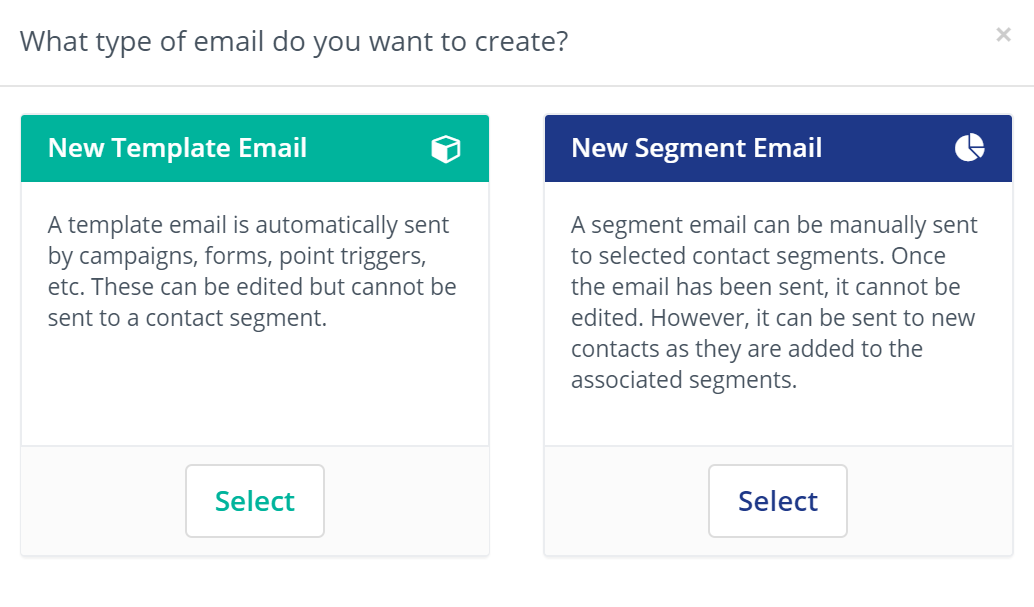
Learn the difference between Segment Email & Template Email
When sending emails in Wingsend, you’ll either want to send/schedule a one-off email or create an automation email. The one-off email will send out either immediately or whenever it’s scheduled to. The automated email will fire off each time the required conditions are met.
If you’re trying to send a one-off email, you’ll want to choose Segment Email. This will allow you to send a single email to your list or segment, and that’s that.
However, if you want to set up an email automation to be triggered by an event, you’ll want to select Template Email.

So for now, let’s select Template Email, as we’re looking to set up an automation. There are two ways to create an email in Wingsend: you can create one in the campaign builder by going to Campaigns > New or you can create one by going to Channels > Emails. Either will do in this case, and in both cases you’ll want to select New Template Email.
Design Your Welcome Email
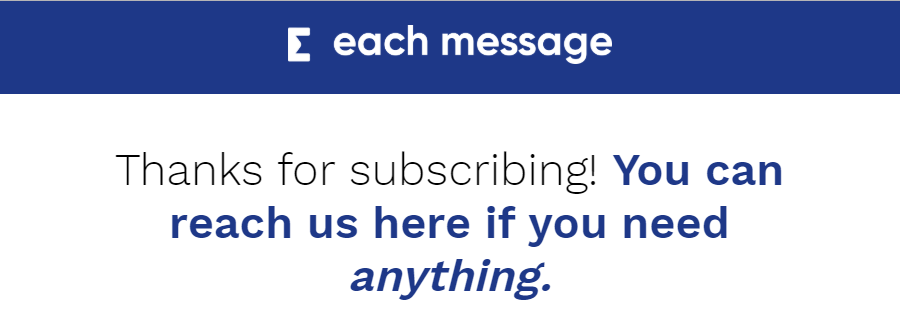
This part will be the same as creating any other email; use the email builder to create a visually appealing email design. You can a fitting template select and customize it with your own assets, including your logo. You’ll want to include your brand colors and a font that is close to the font on your website (if the exact font is not email-friendly).

The content of your message will depend on the context, what your company is about, and how the user ended up getting your message. Nonetheless you’ll want to open with a sincere thank you, as that’s only good manners when someone chooses your brand over the competition–and this establishes a personal relationship between you and them when done correctly.
There are a number of things your welcome email can accomplish such as: educating your users on what your company does and what it stands for, offer incentive in the form of a discount code, implore them to whitelist your email, link to your most popular relevant content, and more.
Build Your Campaign
Now that you’ve got a beautifully designed and well-thought-out email prepared, it’s time to automate it’s delivery to happen each time someone signs up. If you started creating the email by going to Campaign > New then you’ve already selected a contact segment to send this email to. If you didn’t do that, go to Campaign > New and select the contact segment this email is intended for.
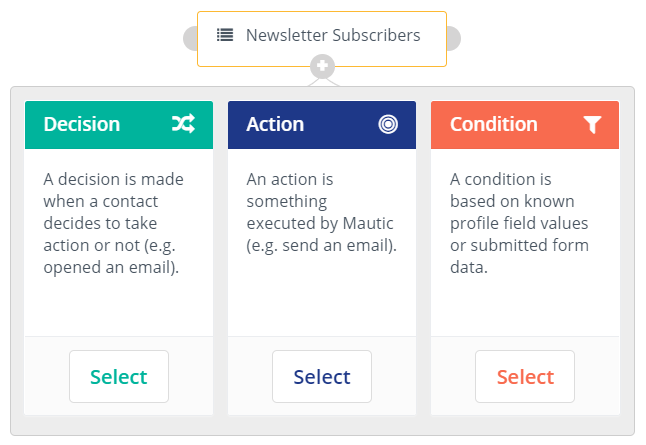
Now click on the + at the bottom of the contact segment you just selected and select Action.

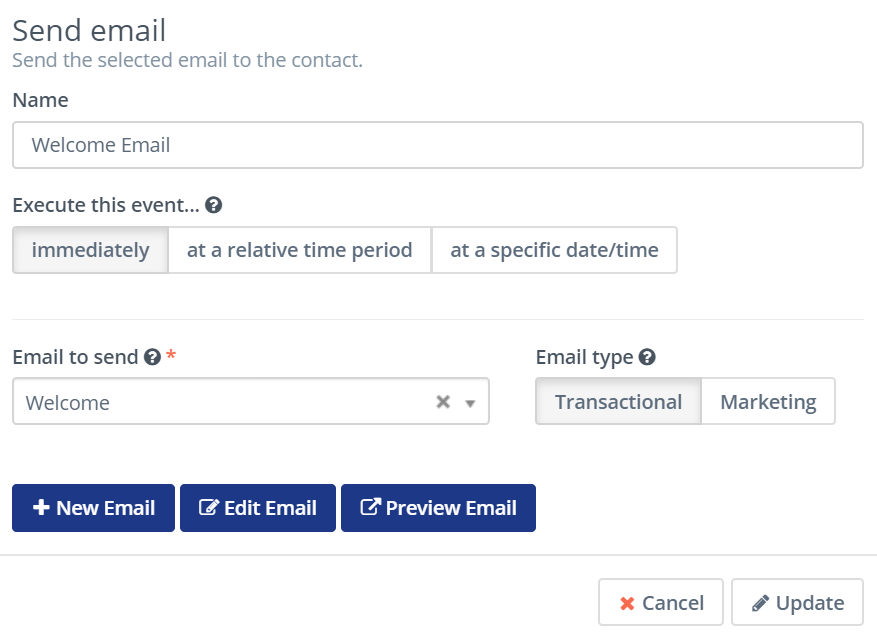
Now you’ll want to name the email and select the welcome email you designed earlier. From here you just click update on the modal and apply on the campaign builder, and you’re in action! Now whenever someone signs up for the contact segment selected, they’ll receive your welcome email.

Conclusion
There you have it–automation doesn’t have to be complicated. And when done right, it is more convenient for all parties involved. Wingsend makes it easy to cook up a great email and automate when it’s to be sent out but it can also do so much more. Reply to tweets that mention your company, send SMS messages if someone is the first to open an email, build landing pages and collect information in exchange for downloads.
The possibilities truly are endless and I hope that this example spurred some creative thinking. Thanks for reading and if you have any questions about our platform or business, we’d love to hear from you!